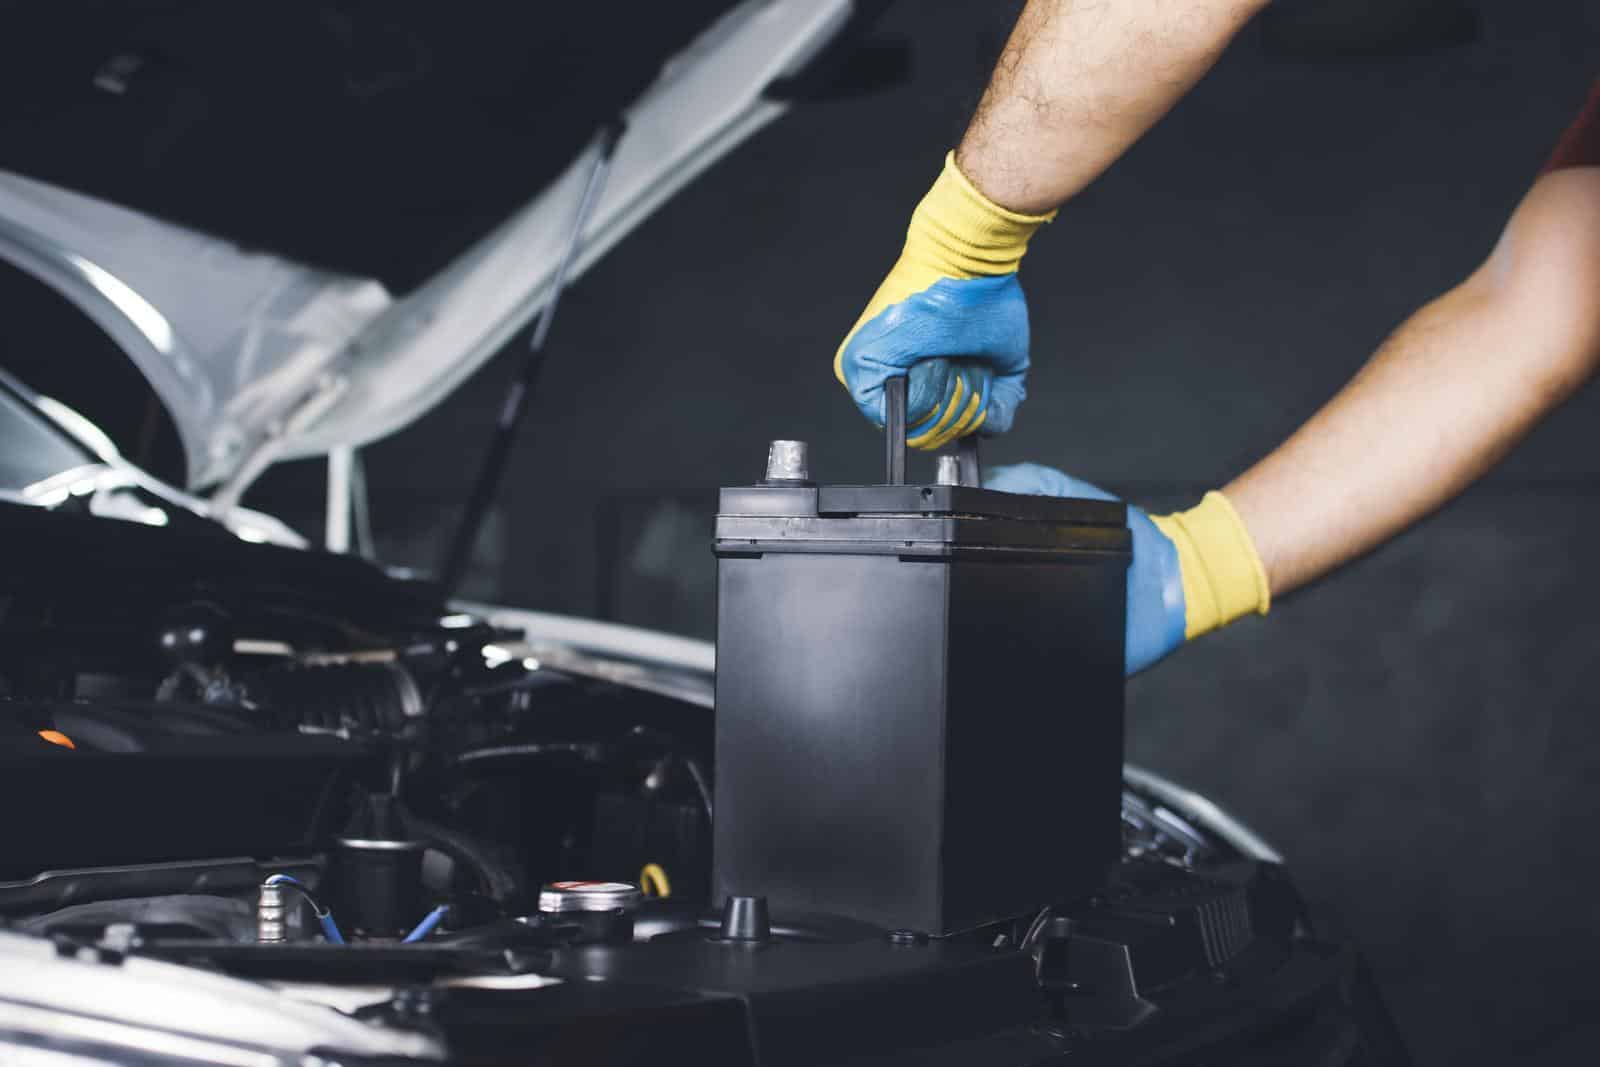
Safely Disconnecting Your Car Battery: An Expert’s Guide
Introduction
There may come a time when the battery needs to be disconnected. This may be because of a maintenance issue, replacing a dead battery, or simply because you are going to store your vehicle away for a while. Whatever the reason, it’s important to know how to disconnect a car battery safely. We must do correctly it to avoid damaging the battery or other components of the vehicle. This blog post will provide an overview of how to disconnect a car battery safely and effectively.
The Correct Sequence to Disconnect Your Battery Safely
When removing the battery: Remove the Negative terminal first, then Positive terminal second.
When reconnecting the battery: Fit the Positive terminal first- then Negative second
Remember N-P-P-N and you will not make a mistake.
(Negative-Positive-Positive-Negative)
Why Would You Need to Disconnect Your Car Battery?
Disconnecting a car battery ensures that no electricity is flowing into the system when performing repairs. This reduces the risk of an electrical short circuit, which could cause serious damage to wires and systems in your vehicle. It also helps protect from potential electric shock as well as reducing the chance of accidental fire should sparks come into contact with any flammable materials.
Step-By-Step: How to Disconnect Car Battery
Wear protective gear
The first step in disconnecting a car battery safely is to wear protective gear. This includes safety goggles, safety gloves, and a long-sleeved shirt. This helps keep you safe from any contact with battery acid or sparks that may occur during the disconnecting process. Even if you’re experienced at battery disconnects, it’s always best to be safe.
Remove any metal jewelry.
Also, be sure to keep any tools used away from the battery while you work. The best place is on a magnetic tool tray on the floor next to you. This way, your tools don’t drop into the engine compartment and cause problems later.
Gather the Tools You Need
The most important tool is a wrench; this provides enough leverage to loosen the nuts on the battery terminals. You will also need a pair of pliers to manipulate the terminal clamps. Once you have these tools, you’re ready to begin! You may also need a socket wrench to remove the battery hold down. Confirm the socket size by testing a few of them before you begin.
Locate the Battery
If you already know where your battery is located, move on to the next step. It’s common for the battery to be in the engine bay, however, not always! Trying to find the battery in your vehicle may prove difficult if you’ve never had to do so before. If it’s not in the engine bay, look in the trunk, behind the back seat, or beneath the driver or passenger seat.
For some strange reason, certain vehicles have their batteries installed in the front bumper or behind the front wheels, an example being Chrysler. If you can’t find your battery location, a quick Google search for “where is the battery location for [type in your vehicle make, model and year]……” may be necessary.
Clean the Connections
Before starting, it’s important to make sure that both terminals are free from corrosion or dirt build-up. Take a damp cloth or paper towel with baking soda on it and scrub both the positive (+) and negative (-) terminals until they are free from dirt and corrosion. You can also use a small wire brush for this purpose.
Wash it off with some soapy water and wipe dry with a clean cloth. Don’t worry about the water. Water on a battery will not cause an electric shock.
Positive and negative terminals need to be identified.
Before you disconnect a car battery, it is important to identify the positive and negative terminals. The positive terminal will typically have a red cover, and the negative terminal will have a black.

The negative terminal is usually marked with a “-” symbol, or with a black cable.
The positive terminal is usually marked with a “+” symbol, or with a red cable.
If you are unsure which terminal is which, refer to the owner’s manual. After you have identified the terminals, you can disconnect the battery safely. Make sure to never let the two terminals touch each other or you could cause an electrical short.
Remove the Negative Terminal
Once you’ve identified the negative terminal, disconnect the negative cable from the battery post. Be sure to use the appropriate tools for the job; it’s not recommended to use pliers instead of a correctly sized wrench to loosen or remove the battery terminals.
This is the most important step in the process, as it will prevent any short-circuiting of electrical components that could occur from accidentally touching the positive and negative terminals together. To disconnect the negative terminal, you must use a correctly sized wrench to loosen the nut on the terminal. Once it is loose, you can pull the terminal off the battery post. You may need to grip the terminals with your pliers and to wriggle it gently to loosen it from the negative battery post. Make sure you are wearing gloves and have other metal objects away from the area to avoid any sparks from the terminal. Finally, make sure the cable is tucked away from the terminals so that it does not accidentally come in contact with them.
Remove the Positive Terminal
Follow the same procedure above for the positive terminals. Disconnect the positive cable from the positive battery post.
With both terminals disconnected, you can now safely start working on your engine or other parts without fear of electric shocks or sparking wires!
If you need to replace a faulty battery, clean the battery tray with water or baking soda solution. Remember to reconnect both clamps before closing up your hood when finished.
You may also need to set the correct time on your clocks and reset your radio.
Tips for Re-Connecting Your Car Battery:
Re-connect the terminals in the reverse order.
When re-connecting your battery or fitting a replacement battery, always start with connecting the positive terminal first—this helps prevent any sparks from forming when connecting up power sources (which could lead to an electrical fire). After the positive terminal is snug and tight (but not too tight) reconnect the negative terminal.
Take extra care not to touch both ends of the battery cable clamp together while handling them—this could cause them to spark and possibly ignite any flammable substances nearby! Always keep them apart until they are firmly attached back onto their respective posts in order to avoid any dangerous situations!
It is also important to reattach the plastic cover of the battery terminals to prevent accidental contact with metal tools while working in the engine, which can cause a shock or spark. This is especially important for the positive battery cables. Make sure the metal bracket which holds the battery is also secure and firm.
Author Bio: Victor Jaxen is a highly experienced Sales and Marketing Manager in the automotive industry. With over twenty years of experience, he has demonstrated expertise in customer service, automotive engineering, and car batteries and electrical systems. Holding a Master of Engineering – MEng degree in Manufacturing Engineering from Cardiff University / Prifysgol Caerdydd, Victor is passionate about delivering exceptional results and utilizing his skills to drive business growth. With his comprehensive knowledge and understanding of the automotive industry, Victor provides accurate and reliable information on a wide range of topics, including car batteries and electrical systems. Stay tuned to annewetey.com for valuable insights and industry expertise from Victor Jaxen!


 Previous Post
