How to Jump Start a Car With Jump Cables
How to jump start a car the proper way
Knowing how to jump start a car can get you out of a sticky situation. If you are stuck on a cold morning because of a dead car battery, this article will show you what to do to get back on the road in no time. Jumper cables are a pair of long battery cables with clamps at each end. One is usually red and the other is black to help with a safe connection. The red goes to the positive terminal and the black goes to the negative terminal.
You will need a
- Another working vehicle or a fully charged battery (e.g. a battery from your generator, mower, etc.) of a similar size or capacity as the flat battery)
- a pair of jumper cables and
- access both batteries or jump points (occasionally, a dead battery will disable the doors and you need to retrieve a key to have access).
If you have access to a roadside assistance service getting the above is easy. If not, don’t panic. Get a friend or helper to bring their car and/or jumper cables. Below is a step-by-step guide that will teach you how to jump start a car the proper way.
Top Tip: If all else fails, it doesn’t hurt to stop a taxi or call an Uber and ask a driver. I have done this myself. Most of the time, if they can help, they will. Remember, this is not part of their job. Call and ask nicely BEFORE they drive all the way to your location and remember to give a tip.
Before you begin the jumpstart process, here are a few words of caution:

There is a good reason the safety checklist is longer than the actual process of jumping the car. Mistakes can be very costly in terms of personal injury and damage to your vehicle. Please pay attention to this safety brief.
- Hooking up the cables requires some patience and care. Avoid working on cars if you have had too much to drink.
- Batteries produce flammable and explosive gases. Always work in a well-ventilated area. Don’t smoke or use naked flames near a battery.
- Remove any dangling clothing–like scarves or ties–as it could get stuck in the moving engine parts.
- Remove any metal jewelry or metal objects which may interfere.
- Read your owner’s manuals before jumping your car. Some vehicles have dedicated jumping points instead of connecting directly to the battery.
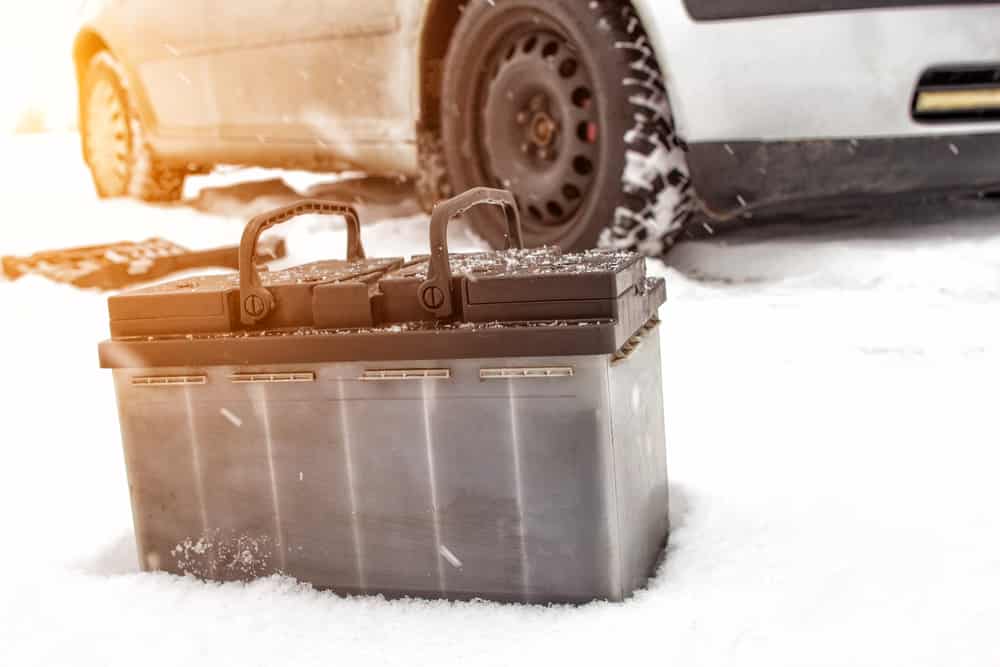
- Don’t use jumper cables if your battery is frozen.
- Don’t use jump cables which are damaged or frayed.
- If possible, open up the faulty battery and check that there is enough liquid in it. Check individual cells and add water accordingly. If the battery is damaged or leaking do not attempt to jump it. Call for roadside assistance or get a replacement.
- Clean any white or greenish powdery substance off the battery terminals with a wire brush or some sandpaper. Cover your nose and mouth to prevent inhalation of the dust.
- When connecting the wires, be careful not to touch the metal clamps. They can heat up and burn your fingers.
Step #1 Locate batteries in each car
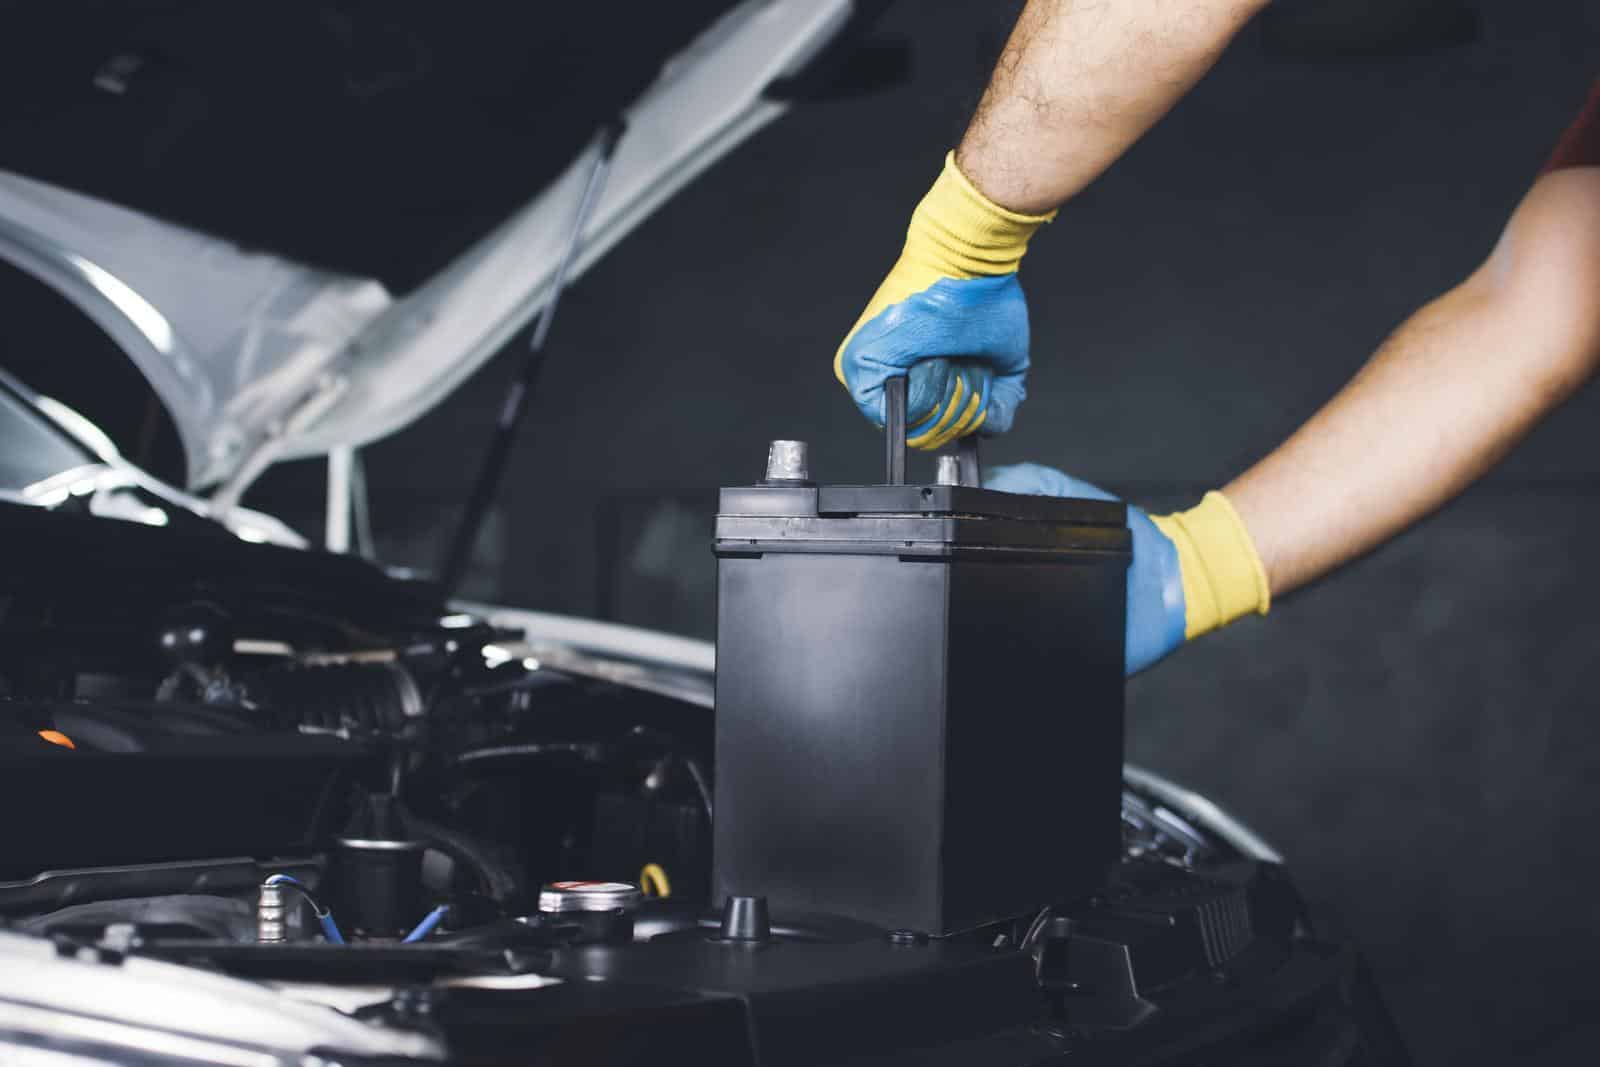
Most batteries will be located in the engine bay… but not always. Your vehicle battery may be hard to locate if you have never had to work on it before. If your battery is not in the engine bay, it may be located in the trunk, under the back seat, or under the passenger or driver’s seats. Some vehicles even have their batteries installed in the front bumper or behind the front wheels (for goodness sake, Chrysler!!). A quick google search for “where is the battery location for” may be necessary if you have never had to check for your battery location.
Luckily, even if the battery pack is not in the engine compartment, car makers will usually provide a positive jump point (indicated by a red “plus” symbol) somewhere in the engine compartment. So focus on finding this Red Plus sign in the engine compartment first. This is where you want to connect one end of your red jump cable.
Step #2 Park the vehicles next to each other

Park the two cars facing each other. Standard jumper leads are usually 12 feet (3.5meters) in length, so face to face is usually the best. However, in most cases, parking the cars side by side would also work. Remember, safety first. If the stalled car is badly positioned, push it into a better position or completely remove the good battery from the other car and place it on the ground in front of the non-starting car.
Make sure the cars do not touch each other.
Engage the parking gear and parking brakes on both cars.
Remove the keys to prevent the low current from affecting the computer setting until you are ready to start them.
Unroll and untangle the jump cables completely, make sure the clips do not touch each other. You are now ready to begin.
Step #3 Connect the red jump lead

Always connect the red positive cable first! Take the red jumper cable and connect it to the positive (+) terminal of both batteries (or to the positive jump points). You may need to remove the red plastic cover. Take your time to identify the correct terminals.
Step #4 Connect the black jump lead
The negative (-) terminal on a battery is marked by a minus or negative symbol. Connect the negative jump cables to the negative terminal on the working battery, then attach the other black clamp to a solid metal ground point on the engine block or body of the dead vehicle. A firm connection to any unpainted metal surface or bolt which can be clamped will work. However, avoid anything near the fuel system.
Only connect the black clip directly to the negative battery terminals of the flat battery as a last resort. Be careful that the black jump lead clamps should never touch the positive terminals of the batteries. Check that all jump lead clamps are firm before moving on to the next step.
Step #5 Start the other car
Start the working car and let it run for a minute with the cables connected to the non-starting car. Then start the other car and let the engine run for about three to five minutes.
If the car doesn’t start immediately, try slightly revving the motor of the working car to help it recharge the flat battery. Let it run for a few minutes before trying again.
Step #6 Turn off and disconnect
After a successful jump, turn off the engine of each car before removing the jumper cables. Remove the cable in reverse order. So remove the black cable first, then the red cable. After removing all the cables, immediately restart the problem car.
Step #7 Take a short drive to help recharge the battery
Take a short 15 to 20 minute drive afterwards to allow the alternator to charge the battery up and ensure that the battery can start again when you turn the car off. It is advisable to visit the nearest battery shop or service center as soon as you can. A proper check on your alternator and battery will give you the peace of mind that this will not happen again. These days there are many reasonable priced but accurate battery testers and battery analysers that will give you a good assessment of your battery life.
Meanwhile check out our article on 8 Things That Can Kill Your Car Battery
Refrences
Which gases are produced in battery charging. (2022). Battery Skills. Retrieved June 1, 2022, from https://www.batteryskills.com/which-gases-are-produced-in-battery-charging/#:~:text=Lead-acid%20batteries%20will%20produce%20little%20or%20no%20gases,electrolyte%20divides%20into%20sulfur%20ions%20and%20hydrogen%20ions.


 Previous Post
 Next Post